Deploy Medusa Admin on Netlify
In this document, you’ll learn how to deploy the Medusa Admin on Netlify.
Alternatively, you can use this button to deploy the Medusa Admin to Netlify directly:

Prerequisites
Medusa Components
Before proceeding with this documentation, it is assumed you already have a Medusa Admin installed locally. If not, please go through the quickstart guide first.
Additionally, this documentation does not cover how to deploy the Medusa backend. If you want to deploy the Medusa backend, check out one of the deployment documentation related to the Medusa backend.
Needed Accounts
- A Netlify account to deploy the Medusa Admin.
- A GitHub account where you will host the repository for the Medusa admin.
If you want to use another Git Provider, it’s possible to follow along with this guide but you’ll have to perform the equivalent steps in your Git Provider.
Required Tools
- Git’s CLI tool. You can follow this documentation to learn how to install it for your operating system.
Create GitHub Repository
Before you can deploy your Medusa Admin you need to create a GitHub repository and push the code base to it.
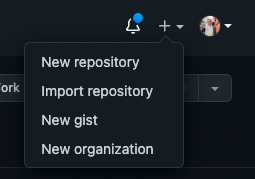
On GitHub, click the plus icon at the top right, then click New Repository.
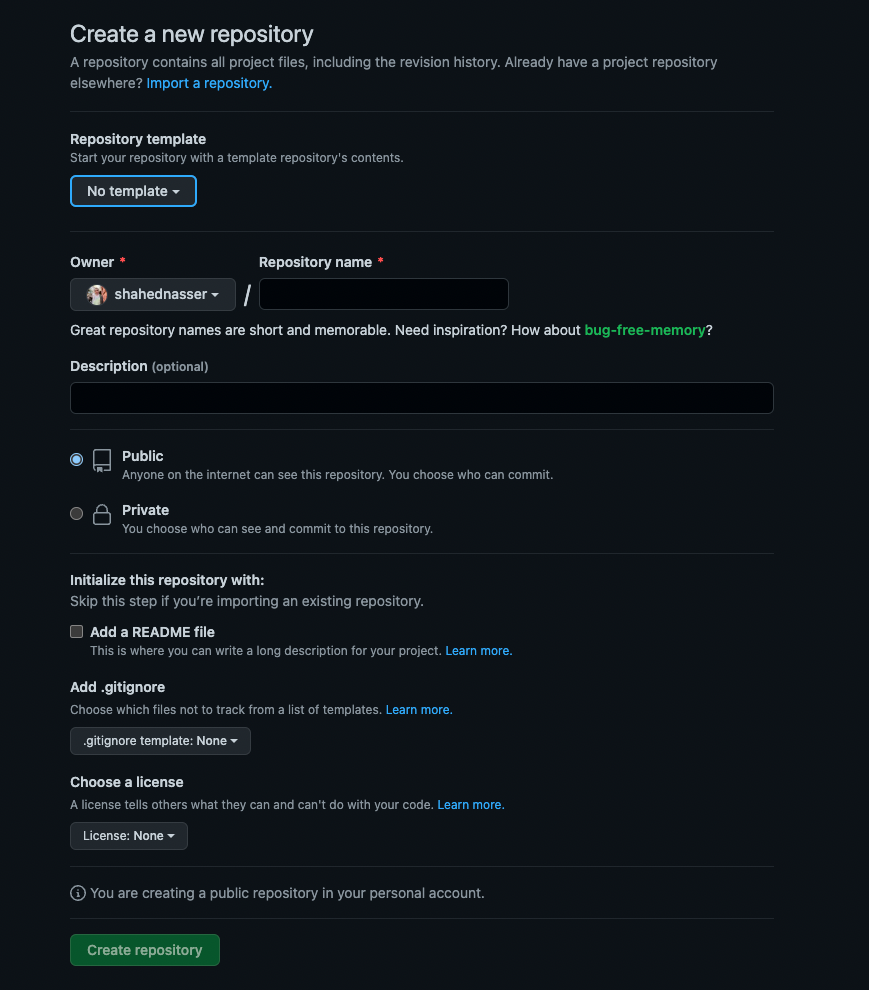
You’ll then be redirected to a new page with a form. In the form, enter the Repository Name then scroll down and click Create repository.
Push Code to GitHub Repository
The next step is to push the code to the GitHub repository you just created.
After creating the repository, you’ll be redirected to the repository’s page. On that page, you should see a URL that you can copy to connect your repository to a local directory.

Copy the link. Then, open your terminal in the directory that holds your Medusa Admin codebase and run the following commands:
git init
git remote add origin <GITHUB_URL>
Where <GITHUB_URL> is the URL you just copied.
Then, add, commit, and push the changes into the repository:
git add .
git commit -m "initial commit"
git push origin master
After pushing the changes, you can find the files in your GitHub repository.
Deploy to Netlify
This section covers how to deploy Netlify either through the Netlify website or using Netlify’s CLI tool.
Option 1: Using Netlify’s Website
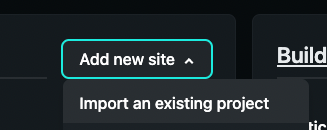
After logging in with Netlify, go to the dashboard. Then, at the top right of the “Sites” section, click on “Add new site”, then click on “Import an existing project” from the dropdown.
Alternatively, if you don’t have any other websites, you’ll see a big button that says “Import an existing project”.
You’ll then be asked to connect to a Git provider.
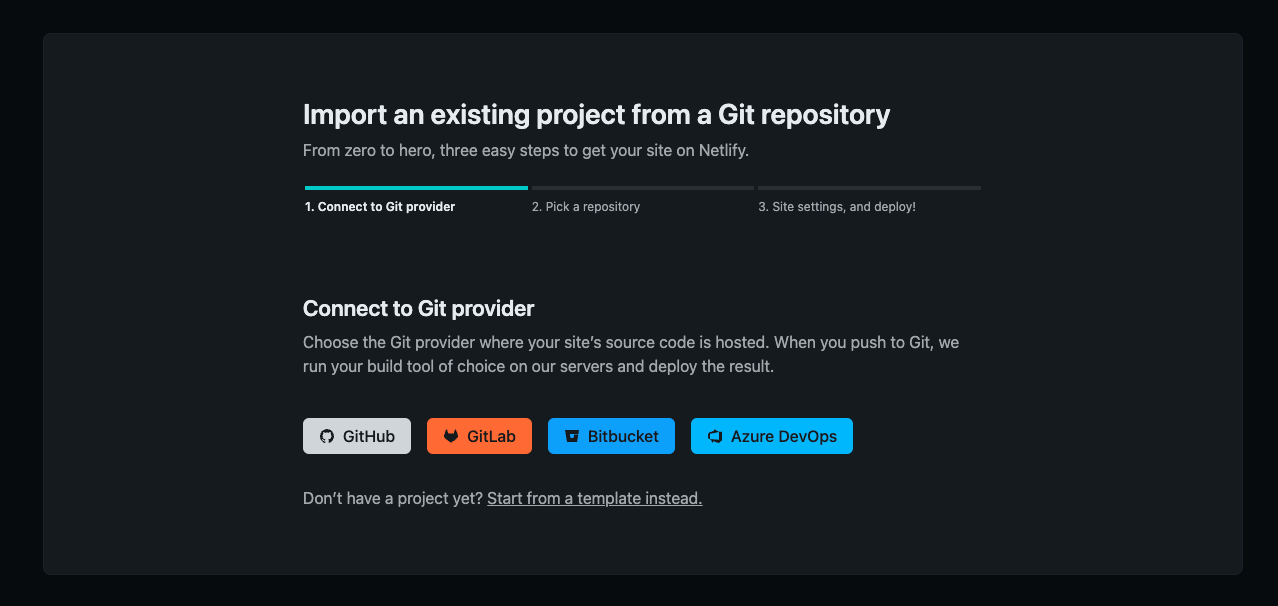
Choose GitHub. You’ll then be redirected to GitHub’s website to give Netlify permissions if you haven’t done that before.
After you authorize Netlify to use GitHub, you’ll be asked to pick the repository you want to deploy. Pick the repository you just created.

In the "Basic build settings" section, make sure the fields have the following values:
- Base directory: (leave empty)
- Build command: yarn build
- Publish directory: public
Next, click the “Show advanced” button, which is above the “Deploy site” button.
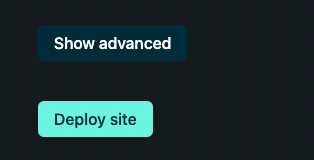
Under the “Advanced build settings” section click on the “New variable” button. This will show two inputs for the key and value of the environment variable.
For the first field enter the key MEDUSA_BACKEND_URL and for the value enter the URL of your Medusa backend.
If you haven’t deployed your Medusa backend yet, you can leave the value blank for now and add it later. However, you will not be able to log in to the Medusa Admin without deploying the Medusa backend.
In previous versions of the admin, the environment variable name was GATSBY_MEDUSA_BACKEND_URL or GATSBY_STORE_URL instead. The admin remains backwards compatible, so if you've used this an older version you can keep the same environment variables. However, it's highly recommended you change it to MEDUSA_BACKEND_URL.
Once you’re done, scroll down and click on Deploy site.
You’ll be then redirected to the dashboard of the new website. Netlify will build your website in the background. You should see “Site deploy in progress” on the top card.
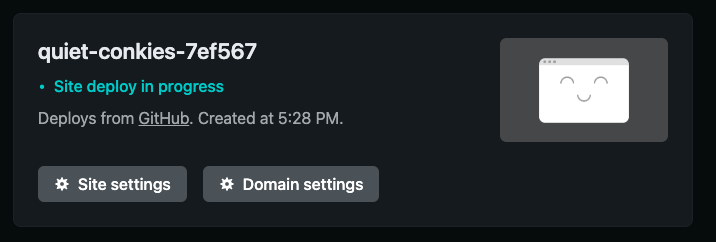
The deployment can take a few minutes.
Once the deployment is done, you’ll find the URL in the place of the “Site deploy in progress” message you saw earlier.
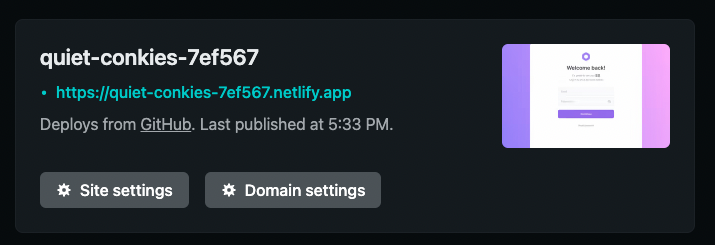
If you click on it, you’ll be redirected to the deployed admin website.
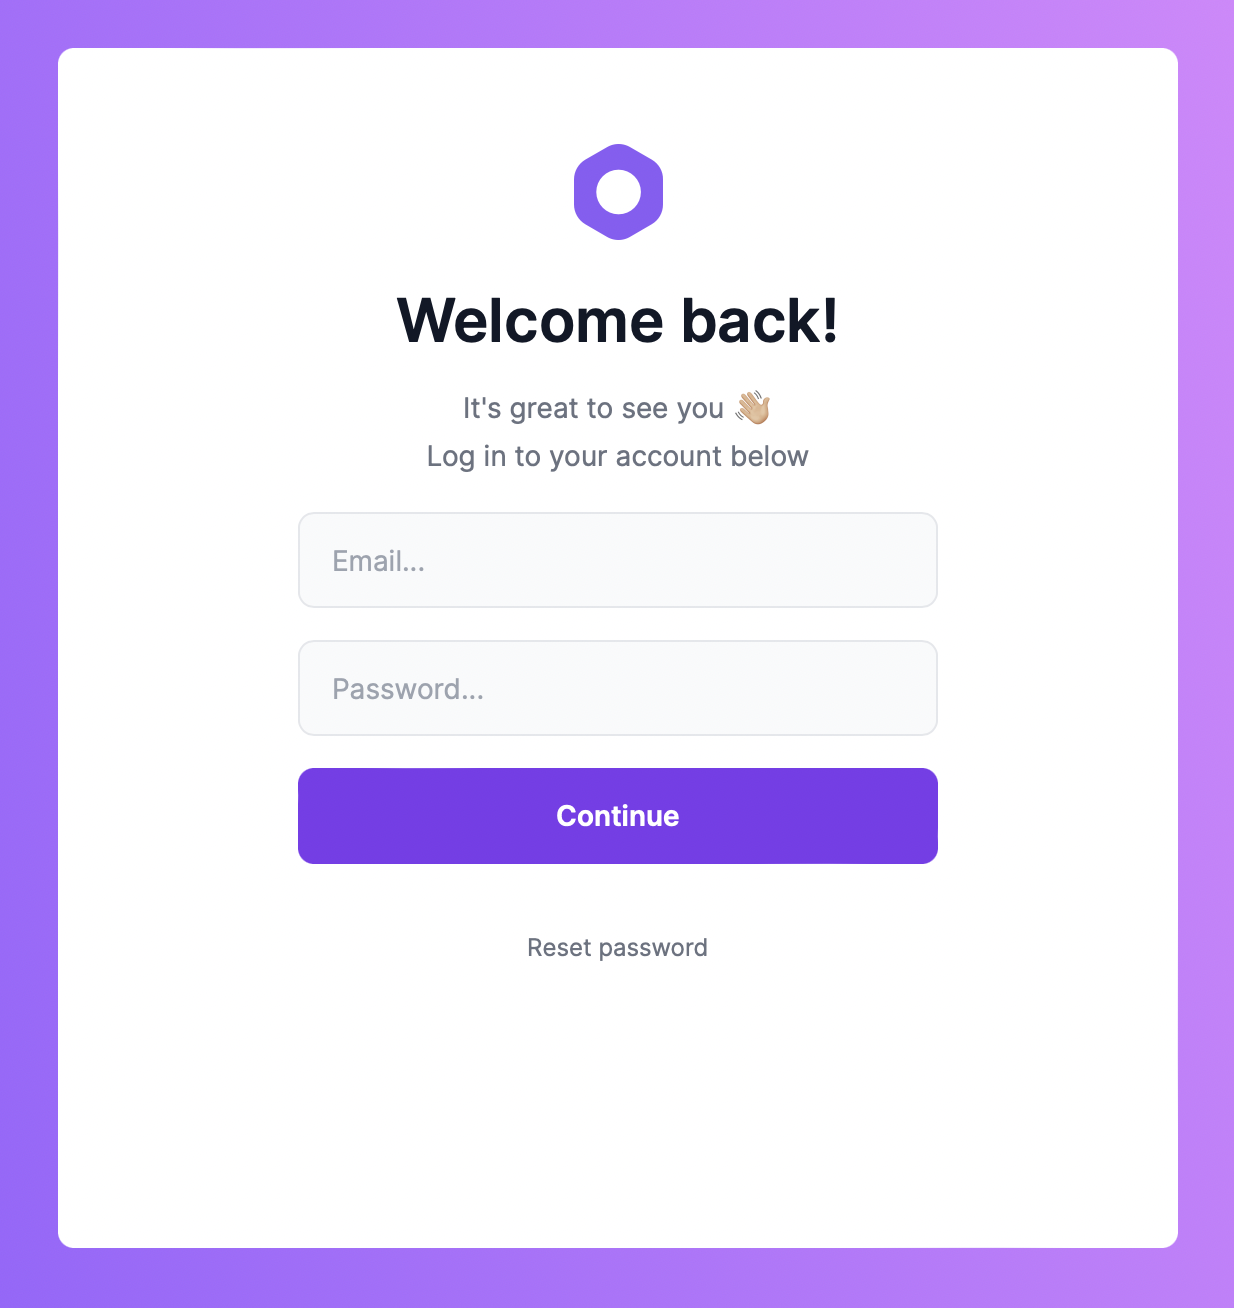
Before you can use Medusa Admin, you must add the URL as an environment variable on your deployed Medusa backend. Follow along in the Configure Cross-Origin Resource Sharing (CORS) on the Medusa Backend section.
Option 2: Using Netlify’s CLI Tool
In this section, you’ll deploy the Medusa Admin using Netlify’s CLI tool.
Install the Netlify CLI tool
If you don’t have the tool installed, run the following command to install it:
npm install netlify-cli -g
Login to Netlify
Then, run the following command to log in to Netlify in your terminal:
netlify login
This opens a page to log in on your browser. You’ll be asked to authorize the Netlify CLI tool.
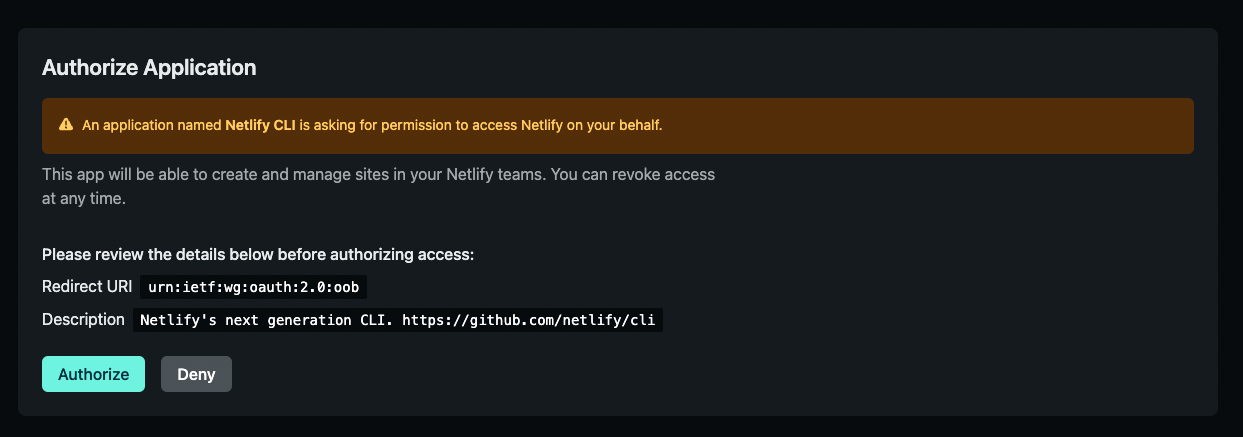
Click on Authorize. Then, you can go back to your terminal and see that you’ve successfully logged in.

Initialize Netlify Website
In your terminal, run the following command:
netlify init
You’ll have to follow five steps for the initialization:
Step 1: Create Netlify Website
You’ll be asked to either connect to an existing Netlify website or create a new one. Choose the second option to create a new site:
? What would you like to do?
  ⇄  Connect this directory to an existing Netlify site
❯ +  Create & configure a new site
Step 2: Choose Netlify Team
Choose the team you want to create the website in if you have multiple teams.
Step 3: Enter Site Name
You’ll be asked to optionally enter a site name.
Step 4: Configure Webhooks and Deployment Keys
At this point, the website is created on Netlify. However, Netlify needs to configure Webhooks and deployment keys. You’ll be asked to either authorize GitHub through Netlify’s website or through a personal access token. You’re free to choose either:
? Netlify CLI needs access to your GitHub account to configure Webhooks and Depl
oy Keys. What would you like to do? (Use arrow keys)
❯ Authorize with GitHub through app.netlify.com
  Authorize with a GitHub personal access token
If you pick the first option, a page in your browser will open where you have to grant authorization to your Git provider.
If you pick the second option, you’ll need to create a personal access token on GitHub. You can follow this guide in GitHub’s documentation to learn how to do it.
Last Step: Steps with Default Values
For the rest of the steps, you can keep most of the default values provided by Netlify, except for the following options:
- Set build command to
yarn run build
? Your build command (hugo build/yarn run build/etc): yarn run build
- Set deploy directory to
public
? Directory to deploy (blank for current dir): public
Set Environment Variables
After the previous command has finished running, your Netlify website will be created. The next step is to add an environment variable that points to your Medusa backend.
If you haven’t deployed your Medusa backend yet, you can leave the value blank for now and add it later. However, you will not be able to log in to the dashboard or use it without deploying the Medusa backend.
Run the following command to add the environment variable:
netlify env:set MEDUSA_BACKEND_URL "<YOUR_BACKEND_URL>"
Where <YOUR_BACKEND_URL> is the URL of your Medusa backend.
In previous versions of the admin, the environment variable name was GATSBY_MEDUSA_BACKEND_URL or GATSBY_STORE_URL instead. The admin remains backwards compatible, so if you've used this an older version you can keep the same environment variables. However, it's highly recommended you change it to MEDUSA_BACKEND_URL.
Check deployment status
You can check the deployment status of your website by running the following command:
netlify watch
After the deployment has been completed, you should see a message saying “Deploy complete” with URLs to your website.
Open Medusa Admin Website
To open the Medusa Admin website, either use the URL shown to you or run the following command:
netlify open:site
The Medusa Admin will then open in your browser.

Before you can use Medusa Admin, you must add the URL as an environment variable on your deployed Medusa backend.
Configure CORS Variable on the Medusa Backend
To send requests to the Medusa backend from the Medusa Admin, you must set the ADMIN_CORS environment variable on your backend to the Medusa Admin’s URL.
If you want to set a custom domain to your Medusa Admin website on Netlify, make sure to do it before this step. You can refer to this guide on Netlify’s documentation to learn how to add a custom domain.
On your Medusa backend, add the following environment variable:
ADMIN_CORS=<ADMIN_URL>
Where <ADMIN_URL> is the URL of your Medusa Admin that you just deployed.
Then, restart your Medusa backend. Once the backend is running again, you can log in to the Medusa Admin and use it.